Welcome to Make on the Lake’s
Teddy Bear Workshop
During the Teddy bear workshop we will be augmenting an existing stuffed animal with animatronics. We will be using a core micro controller from the good folks at Particle.io. We’re using this specific micro controller so that we can easily connect our stuffed animals to IFTTT.
Parts Used
We’ll have an assorted selection of stuffed animals for participants to use (first come first serve).
- Stuffed Animal
- Particle Core
- 2x FEETECH FS90R Micro Continuous Rotation Servo
- Velcro
- 2x Popsicle Sticks
- Needle and Thread
- Hot Glue
Building the Bear
Step 1: Cutting open the bear
Step t:wo is very simple. Simply cut open the bear and remove some of the stuffing. Take care to not lose the stuffing that you’ve removed. We’ll be putting some of it back into the stuffed animal later on.
Step 2: Attaching velcro to the opening
Now it’s time to attach some velcro the the opening so that it can be sealed up later on and your stuffed animal’s cuteness isn’t ruined from exposed wires. Simply take some of the provided velcro and cut it to size. Then stick the velcro onto the the sides of the opening.
Step 3: Sewing the servos into the bear
Now it’s time to sew the servos into the stuffed animal. The reason that we attached the velcro the the opening before sewing the servos in was to ensure that we had enough space to place for both the servos and the velcro.
Choose a spot around the stuffed animal’s shoulders (it doesn’t really matter where. We will configure the servos later on to be able to work with whichever placement you choose). With the servo’s horn pointing inward to the bear take needle and thread and attach the servo to the bear’s shoulders by looping the thread through the holes in the servo. Once you’ve ran a reasonable amount of thread through the loops then you can use some hot glue to secure the thread.
Step 4: Hooking up the servos to the micro controller
The servos have three wires. One brown, one orange, and one yellow. The brown
wire is the ground, the orange is the positive, and the yellow is the signal.
Use jumper wires to connect the brown wire to the GND pin of the core. Also
use the wires to connect the orange wire to the VIN pin of the core. Finally
again use the wires to hook the left servo to A0 and the right servo to A5.
Below is a table of the connections that need to be made
| Servo Wire | Core Pin |
|---|---|
| Brown | GND |
| Orange | VIN |
| Left Yellow | A0 |
| Right Yellow | A0 |
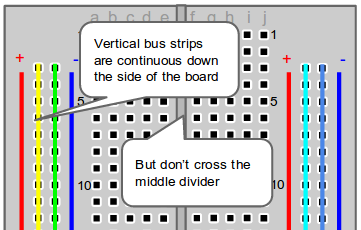
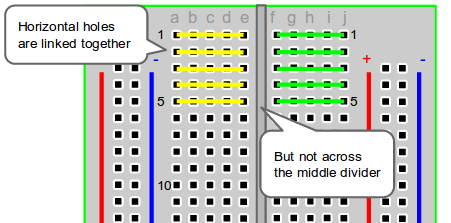
Below are a few images to help you work with the breadboard to connect the servos and the pins.


Step 5: Creating IFFT recipes
Now it’s time to make your stuffed animal do something interesting. Go to
https://ifttt.com/ and sign
up/in then select “My Recipes” and then “Create Recipe”. Choose whatever you
want for your this. Follow the prompts until you’re given the option to
choose your that and then choose Particle.
Next choose “call a function”. The function name you will want to select is
trigger. The function’s input will determine what your stuffed animal will do
when the event is triggered. Below is a list of the available function inputs
| Function Input (case sensitive) | Effect |
|---|---|
| wave | Wave the right arm |
| double_wave | Wave the right arm twice |
| raise_arms | Raise both arms up then lower them down |
| egyptian | Dance like an Egyptian |
| arms_down | Lower both arms |
Step 6: (When you get home) Connecting to home WIFI
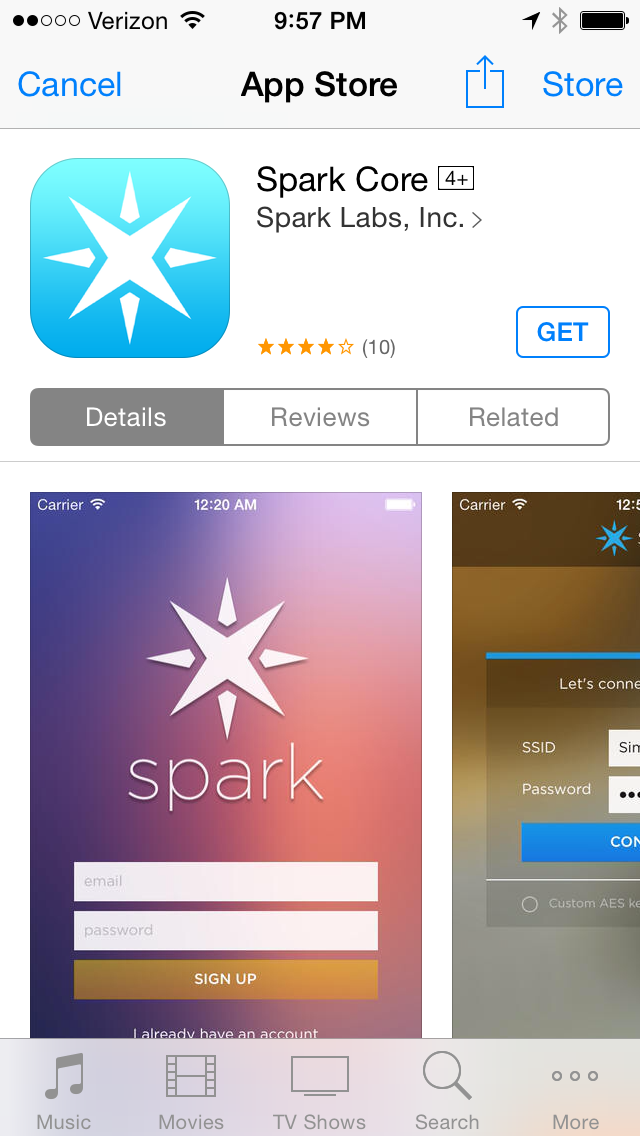
Once you are home the easiest way to connect your stuffed animal to the internet will be to download the Spark Core app.

Once you’ve installed the Spark Core app tap the hamburger menu in the top right and then select connect a core at the bottom of the screen. It will then prompt you to enter your wifi credentials.
If you’re having any trouble getting the core to connect please refer to the documentation at https://docs.particle.io/guide/getting-started/start/core/. Of course if you’re still having problems you can contact William Yaworsky on meetup.com.